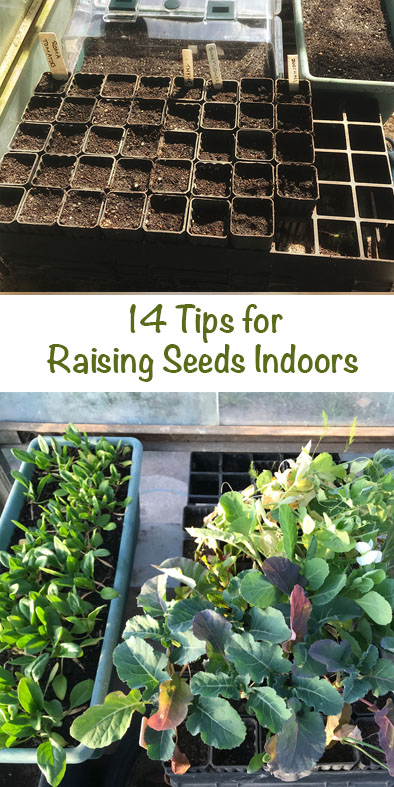
Well the time has come.... the days are getting longer, (and warmer...?) and we should be thinking about our spring/summer vegetable garden. For me this starts with raising some seeds indoors. Purchasing seeds allows you to get an early jump on the growing season, and also opens you up to many more varieties than you would find in your local nursery. Plus its the cheapest way to get delicious veggies growing in your garden (or herbs, or flowers..!.) Now I get most of my seeds started in my glasshouse, but if you don't have a glasshouse, don't worry. There are plenty of easy ways you can mimic the glass house effect. Hopefully the following process will help you get your seeds bursting out of the ground - leading you to a very productive spring and summer garden.
- Pick Your Containers.
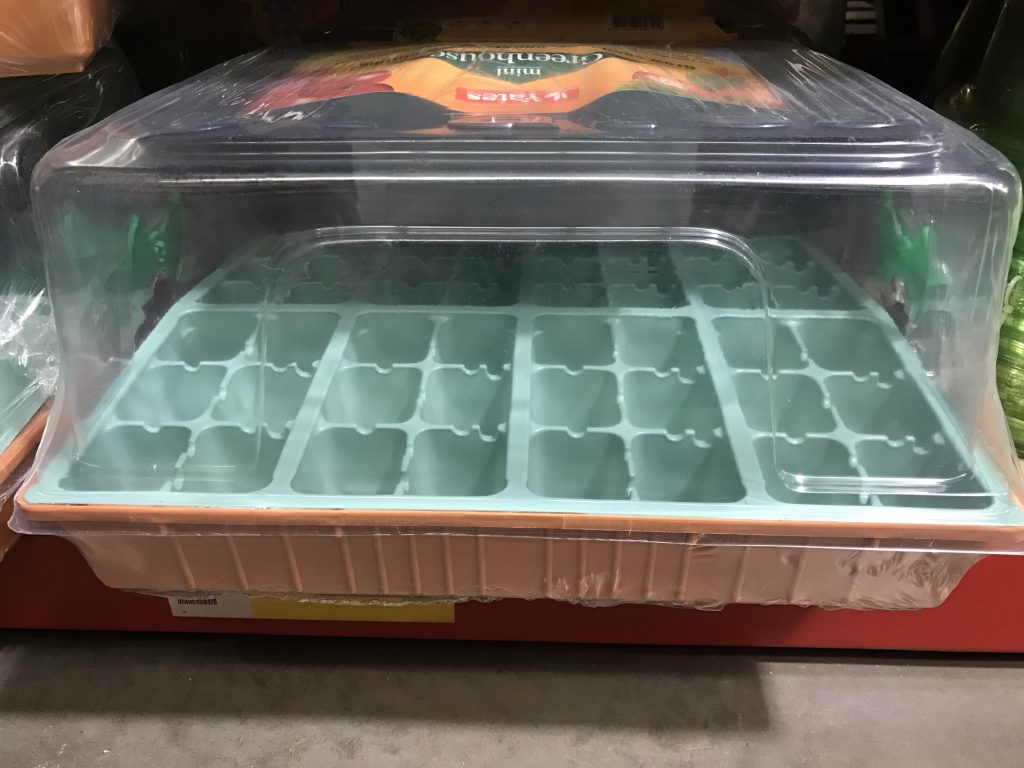
Ideally containers with individual compartments are ideal. They don't have to be fancy, you can reuse seedling containers you have purchased seedlings in from the nursery, or you can buy new large trays, especially designed for seed raising, that often come with a large plastic dome that mimics the "greenhouse" effect.
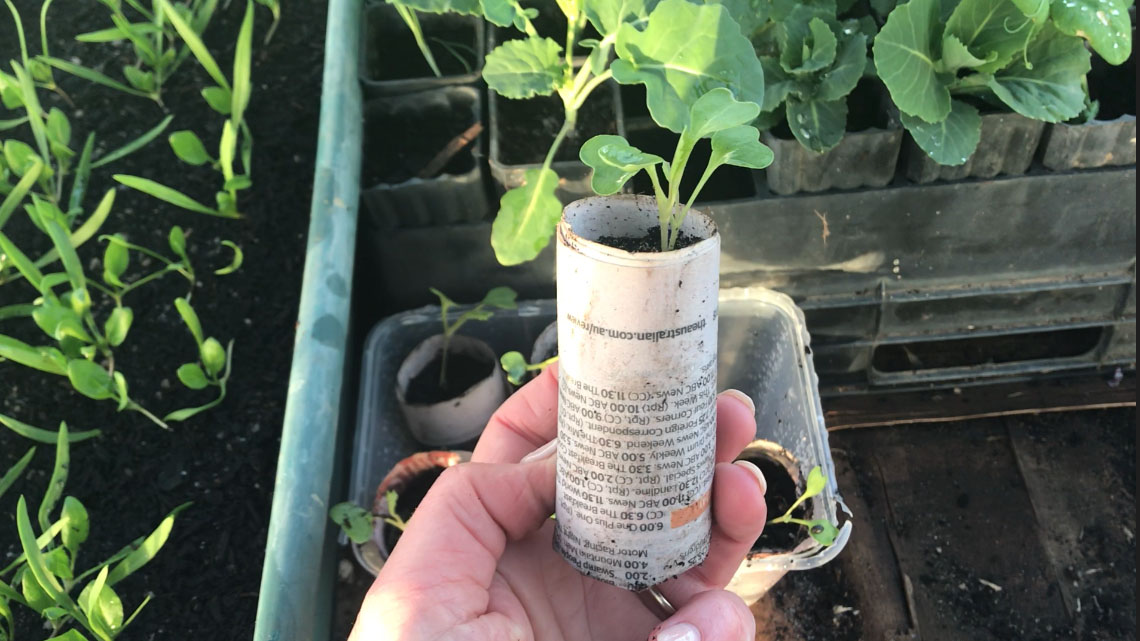
Click the photo below for a link to a YouTube video with easy instructions on making little pots from old newspapers - a great way to save money, and you can plant the whole thing in the ground when it comes time to plant them out!
2. Seed Raising Mix
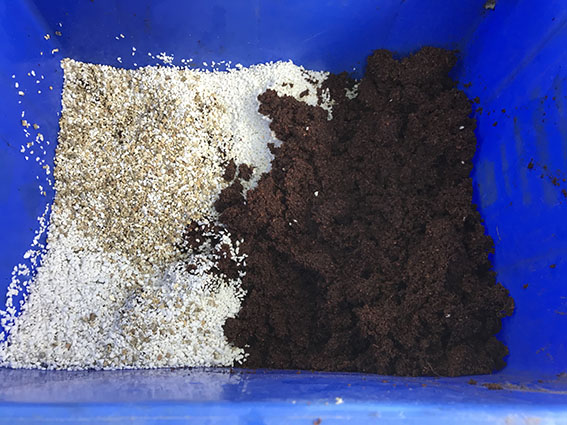
A good seed raising mix is quite important. It has much finer particles than standard potting mix, allowing for it to be tamped down quite firmly to eliminate large air pockets. You can purchase this from the nursery or hardware shop, or you make your own. There are some good recipes on the internet on making your own and it is certainly a good option if you plan on doing quite a bit of seed raising.
3. Other Supplies
A wide bucket or tub to tip your seed raising mix into, some tags or labels for marking your trays so you don't forget what is planted where, some gloves, and of course your seeds. You'll also need access to water.
4. Moisten Your Seed Raising Mix
Tip your seed raising mix into the tub and moisten it. It needs to be reasonably damp but not so wet that it is dripping when you pick up a handful. Watering your mix first means less disturbance for your seeds once they are in position.
5. Filling Your Pots
Fill your pots with soil to 2/3 full, and then pack it down firmly. It sometimes helps to tap the container against the bench or with your hand, just to ensure there are no air pockets. It should be down to about half or a third full. Keep adding soil and packing it down until your pot is firmly packed to half full. Now fill to the top.
6. Plant Your Seed
Make small holes in the top of each pot, roughly twice the depth that the seed is big. Depending on the size of your seed a pencil is often ideal to use to make your hole, or a chop stick. For very small seeds like onions and lettuce, gently pushing the seed into the surface of the soil is often enough. If your seeds are fresh, one seed per container should be fine. If they are a bit older, and you aren't sure how well they will germinate you might like to plant 2 or 3 per pot and thin them out later. Sprinkle more seed raising mix over the top of all your pots, to ensure your seed is covered.
7. Humidity
Cover your pots with plastic wrap, or the plastic dome that came with your trays. This keeps the pots slightly humid and helps with germination. Once you see the majority of your seeds poking through you can remove it.
8. Bottom heat
If you really want to trick your plants into sprouting quickly, give them some bottom heat. Most seeds germinate best at temperatures between 21 - 24 *C (70-75*F) so placing them on top of your fridge, or on a specially designed heat mat this can speed up the process.
9. Watering
The best way to keep your seed raising mix damp is with gentle misting. Using a watering can is too forceful and can dislodge your seeds very easily. Similarly once they germinate misting is often enough. The soil needs to stay moist but not wet. If your soil does manage to completely dry out it might benefit from being semi-immersed in a tray of water, so that it can soak up from the bottom, rather than a flood from above.
10. Lots of light
Once your pots have germinated you need to ensure your plants are getting lots of light. Moving them to near a window, is ideal, but you can use some cheap florescent lights as an artificial source, for giving them "extended" light hours.
11. Thinning
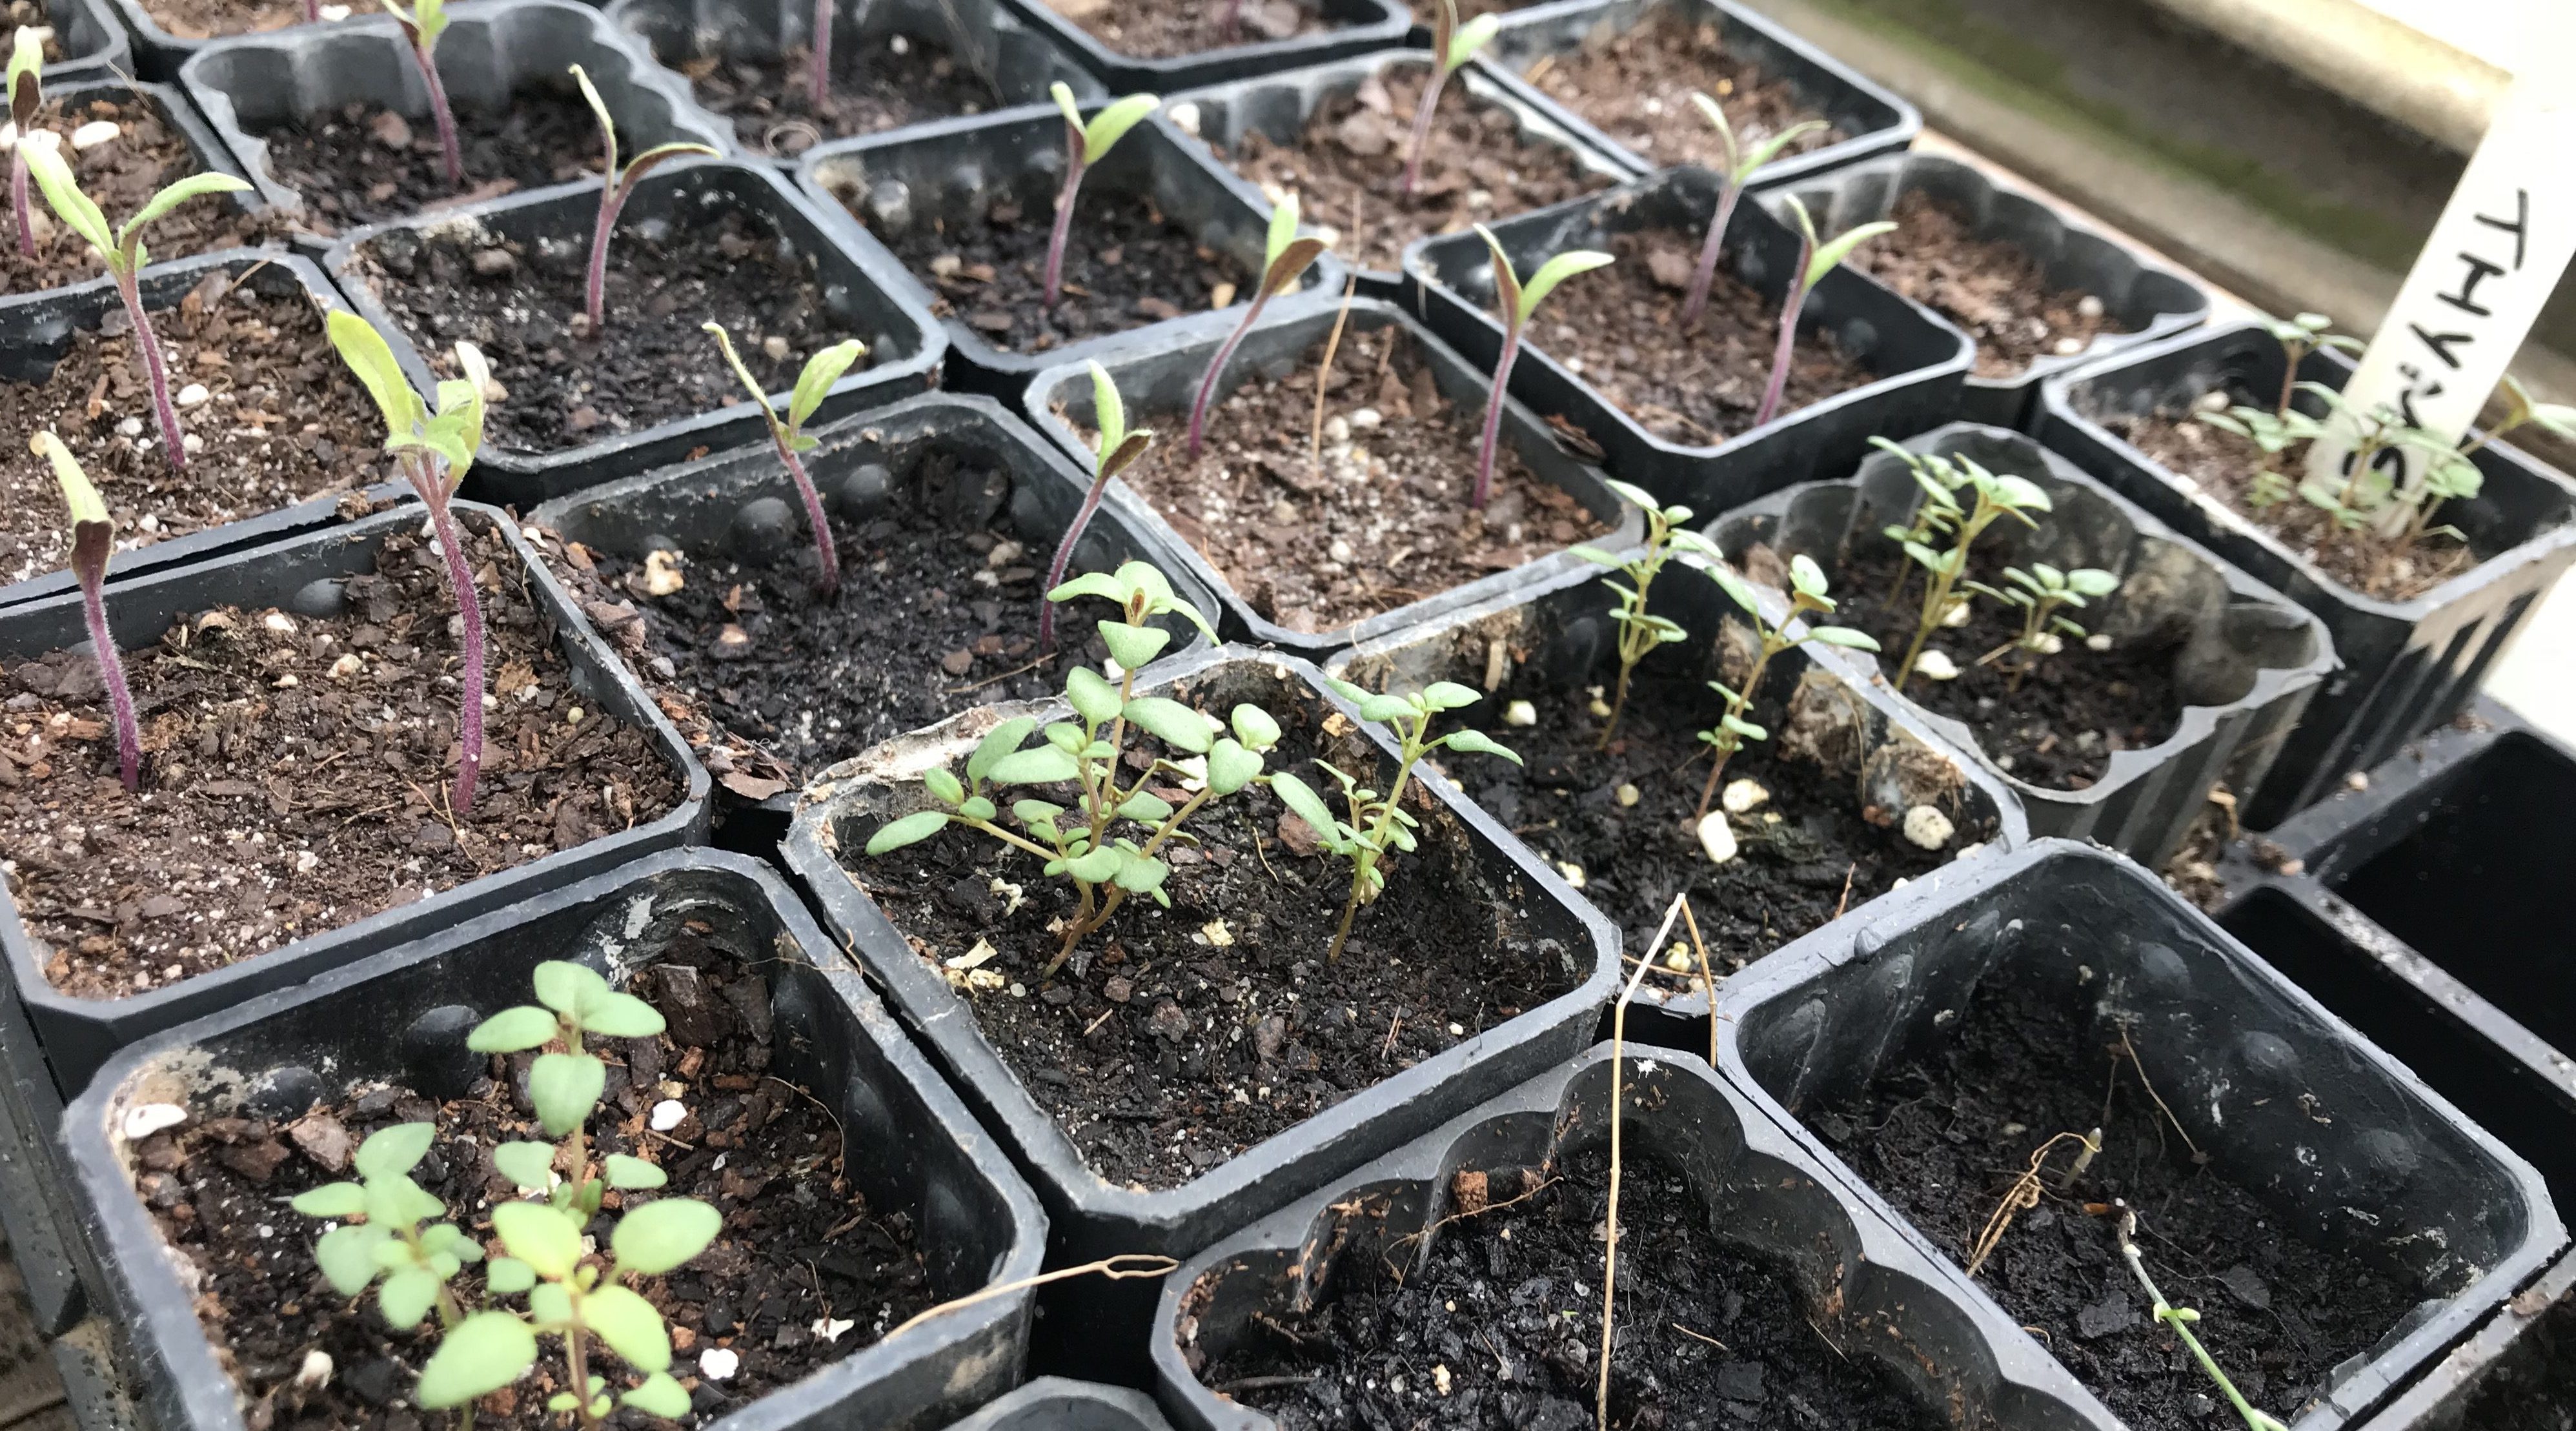
With tiny seeds like lettuce and these thyme seeds on the right, it can often be quite difficult to space them accurately. As they are germinating and growing you may need to thin the plants so that they are not too crowded. Over crowded plants will compete for nutrients and water, and not do terribly well. If the plants are tiny you can often just gently pull them out with out disturbing the neighbouring plants but as they get bigger you might be better off cutting them off just below the surface with a sharp pair of small scissors.
12. Transplanting to a bigger pot
If outside temperatures are not ideal yet for planting your seedlings into the garden, they may benefit from being transplanted into a larger pot. This is particularly important if they are not in individual pots - you will need to transplant them before their roots all start becoming entwined. Again, I water my potting mix well first, fill the pots half to 2/3 full and tamp the soil down well.. Carefully remove the seedlings from their original container, keeping as much seed raising mix as possible around the roots and gently place it in the new pot. Back fill around the roots with fresh potting mix.
13. Hardening off
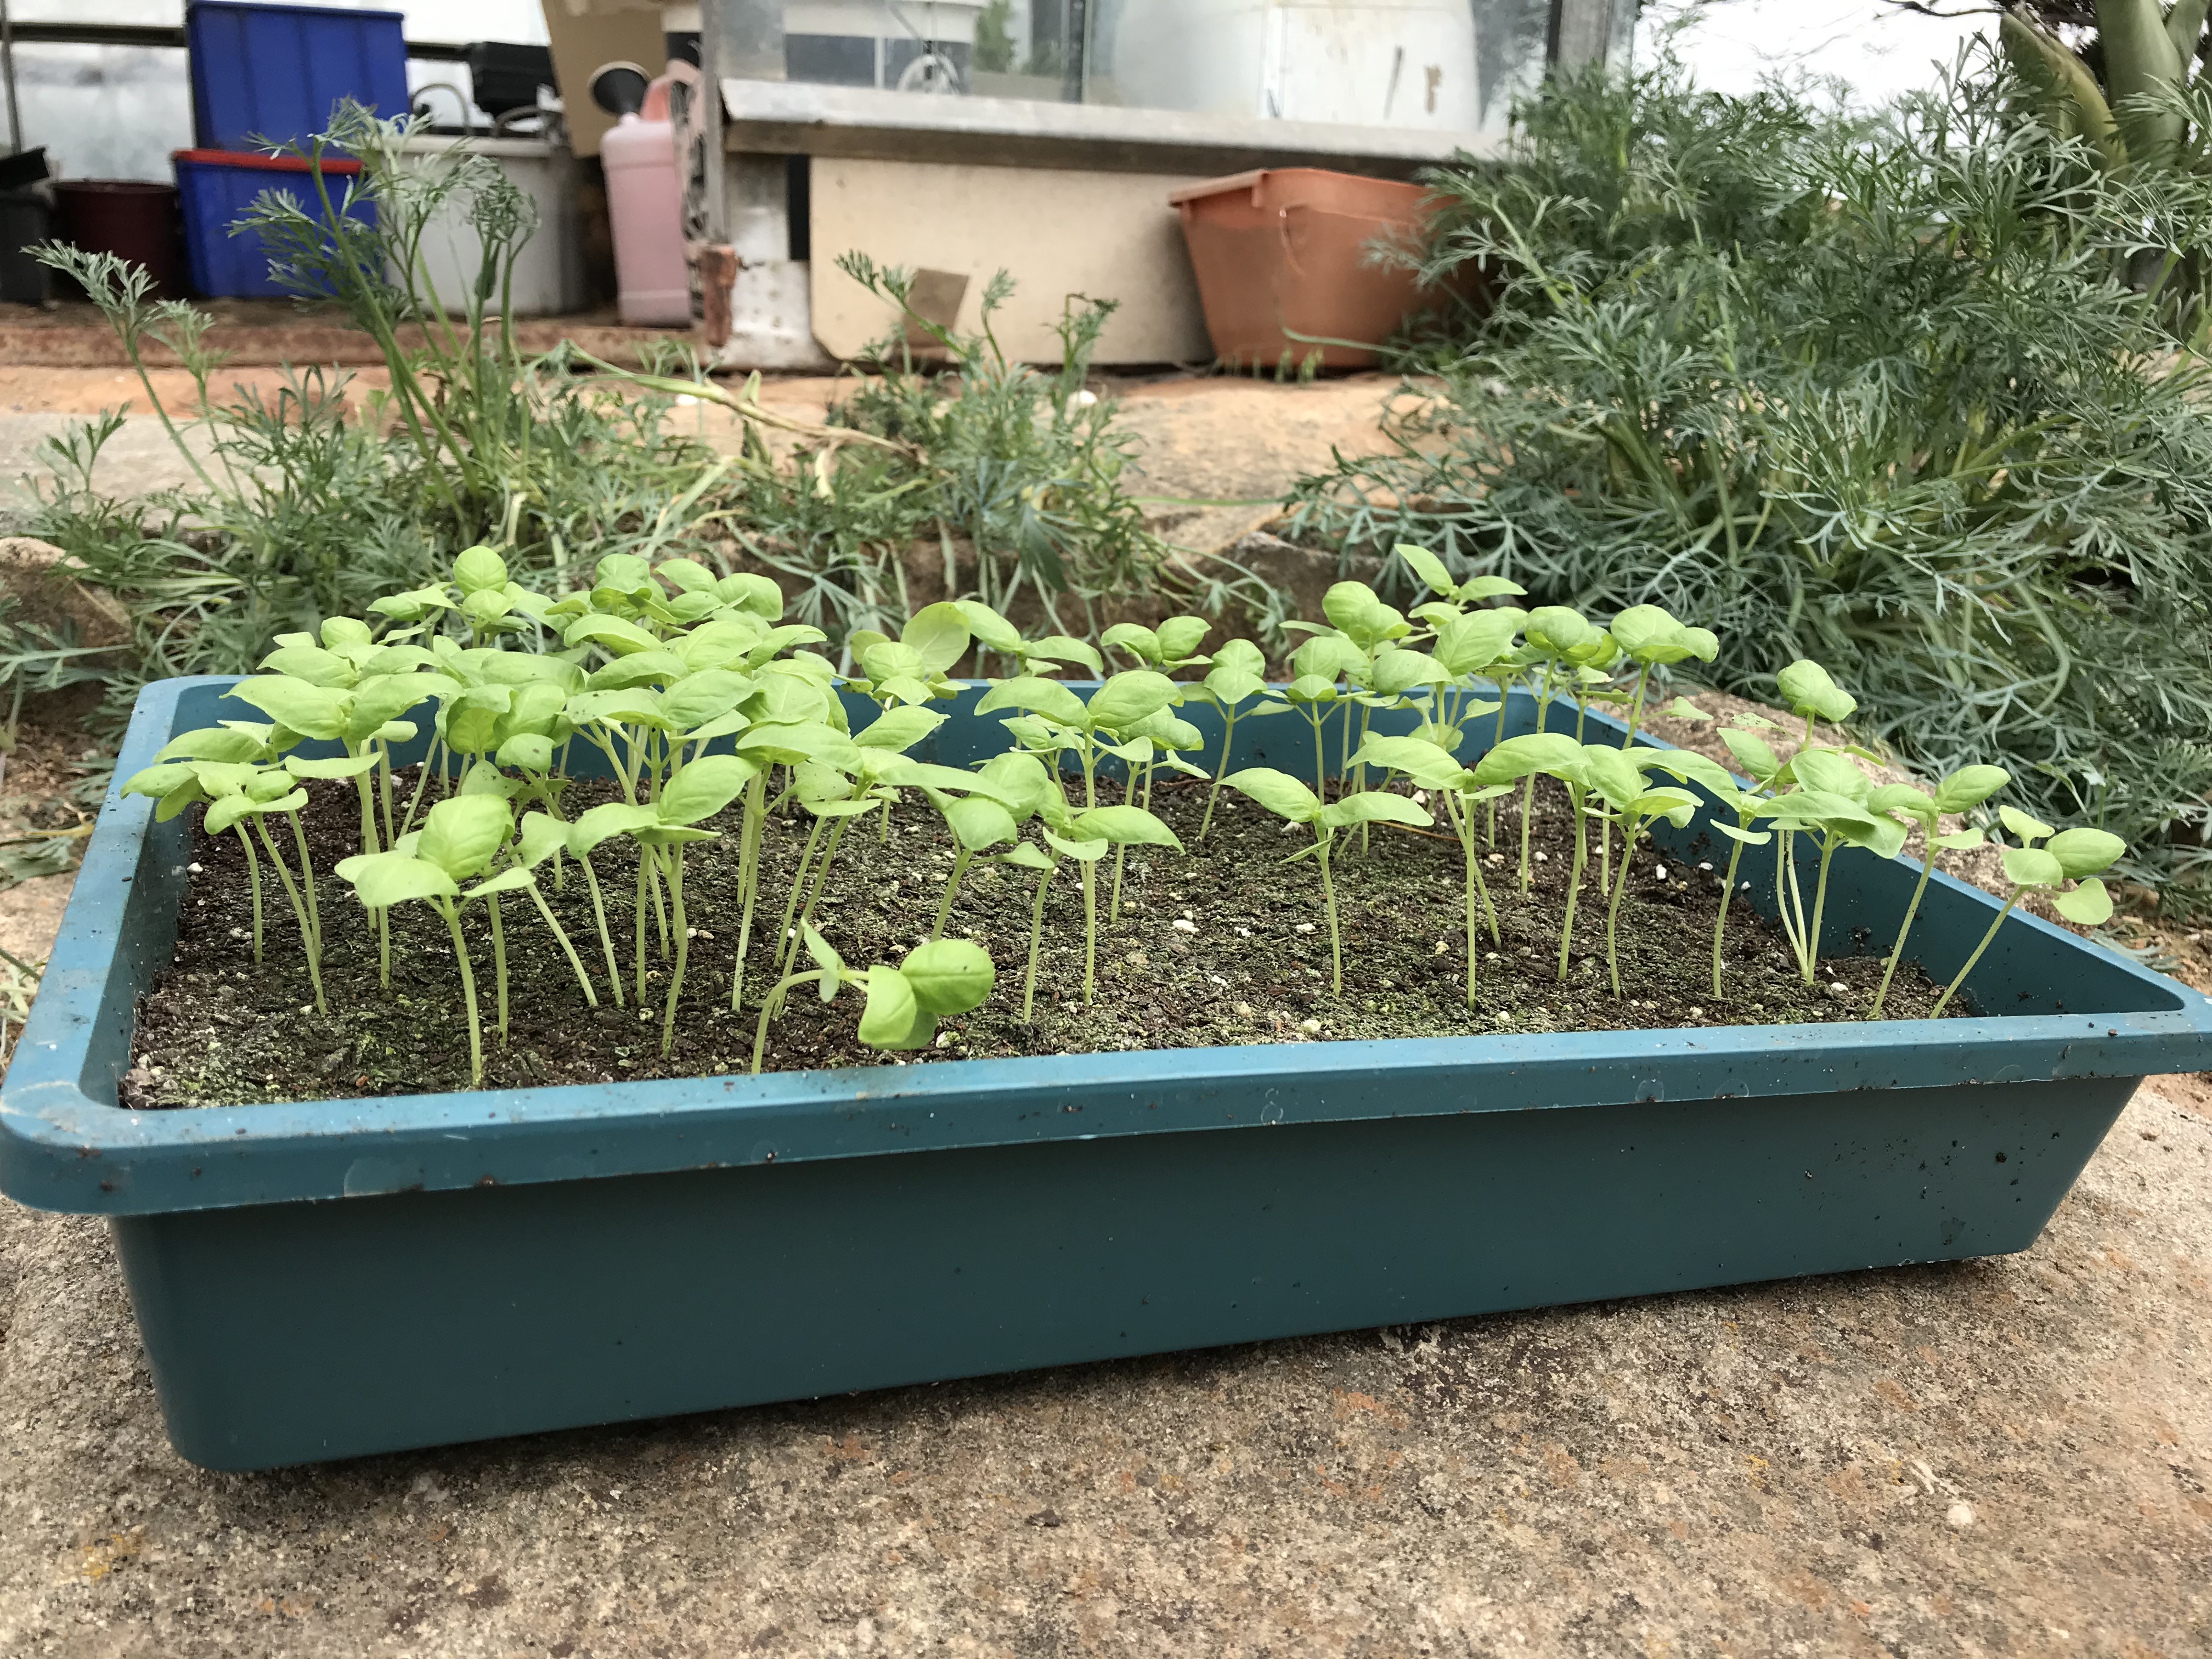
Once outside temperatures and daylight hours are starting to rise, you can begin to think about transplanting your seedlings into the garden. I like to harden mine off first by moving the trays outside during the day and then moving them back inside at night. I do this for a week or two depending on the weather. They may need extra watering during this time, as direct sunlight and any breeze will dry the soil out quicker than sitting inside. Depending on frosts you will soon be able to leave them outside at night as well. The hardening off process gradually strengthens the plants so they become more tolerant of winds, rain and changes in temperature. These basil seedlings on the left are hardening off at the moment.
14 Planting out
Once the frosts have past and your plants have been hardened off, they are ready to be transplanted into the garden. Prepare the garden beds ahead of time, by digging in any compost or fertiliser, and watering it well. Ideally a cloudy day, with no wind is best, and late in the day or evening is ideal, so the plants have time to adjust with out being in direct hot sun for a day. Water them well - and watch them grow!
I've put all these hints and tips onto a free downloadable PDF that you can access HERE if you are interested...
What tips have I missed. Leave a reply below if you have any other tips...
No responses yet