The sourdough starter technique I'm about to describe here is one that I have been making for a few years now - I can't remember where the initial recipe came from but I have certainly tweaked it a bit over time anyway.
The sourdough starter is simply a mixture of flour and water. Wild yeast is naturally present in flours and by creating the starter you are cultivating it into a form that allows it to act as a rising agent for your breads.
The taste of each loaf you make can vary slightly and the older, or more mature your starter is, the stronger the "sour" flavour is.
To get your starter to a mature stage, whereby it can be used in your bread making takes 5-7 days so be patient with the process and don't panic if you miss a step or a day. You can usually start again from where you left off. In saying this though - the more accurate you are with your measuring, and in the timing (ie, same time each day, so your 48, then 24 hours is spot on) the more success you are likely to have.
DAY 1
Grab two large jars, ideally the same size. They need have a capacity of about 4 cups each. The best type of jar is one with straight sides and a large opening to make it easy to transfer the starter and feed it as needed. They need to be glass, as plastic can sometimes react with the starter, and affect the flavour and consistency.
Mix 1/2 cup of flour with 1/2 cup of water - or 100g of each - until well combined. I have used all flour types; wholemeal, white and rye, although if I am using rye I use about a tablespoon less flour with the same amount of water. I use rainwater, and have read that unchlorinater water works best, but I can't vouch for this.
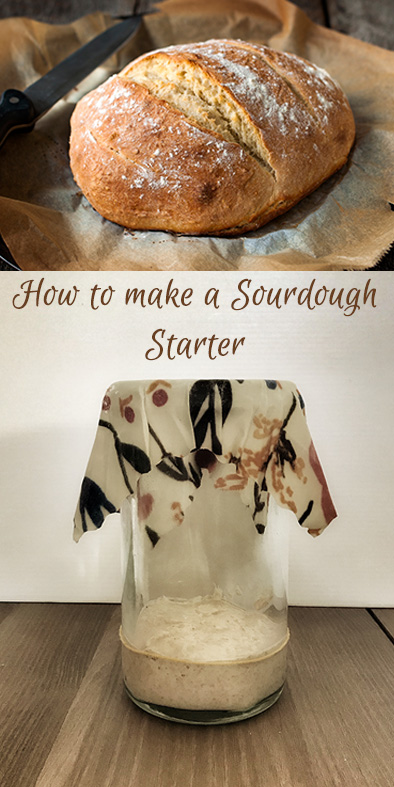
When well mixed, transfer the mixture to your jar and cover securely. Leave it in a warm place for 48 hours. The ideal room temperature is 20-25 degrees Celsius (70-75 degrees Fahrenheit) You may notice some bubbles starting to form, depending on your room temperature, but either way, after 48 hours, begin with the first feeding.
DAY 3
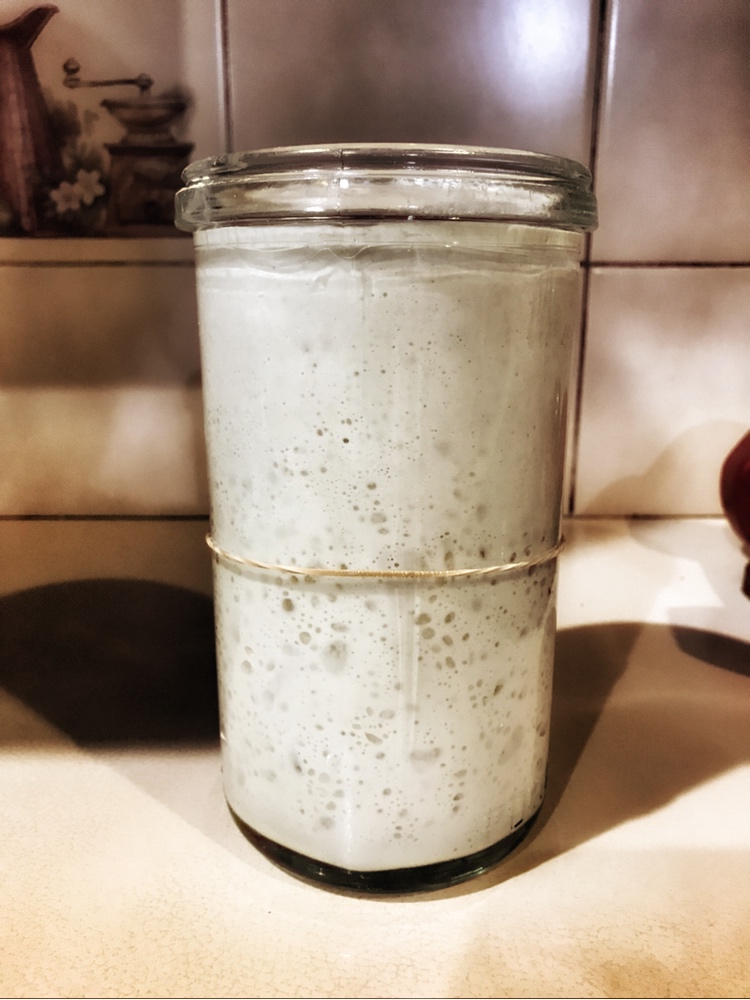
Put your second jar on your scales. Measure out 100 grams of your starter mixture from your first jar into the second jar, and discard the rest of the contents of your first jar. Add 1/2 cup of flour and 1/2 cup water, to the mixture in your second jar. Mix well and then using a clean spatula, scrape down the sides of the jar. This allows you to see clearly, how much the starter has risen. I also like to put an elastic band around the jar at the height of the starter. Cover your jar again and set aside in the warm spot again, for 24 hours.
During this 24 hours you may notice a few more bubbles, and the starter may grow about 50%
DAY 4
Repeat the process from day 3, transferring 100 grams of mixture back into to your original jar, then adding the 1/2 cup of flour and 1/2 cup of water. Mix well and scrape down sides.
Seal your jar and place in warm spot. After the third feeding you will notice your starter becoming very active. It may double in size in as quick as 8-10 hours (although still may take up to 24 hours). Hopefully you will notice it has a sweet tangy aroma.
DAY 5
You are aiming for the starter to be able to double in size in 8 hours or less. If your starter is taking longer than this, continue with the process of discarding and feeding every 12 hours until it can.
Once it does double in size in less than 8 hours it is "active" and is ready to be used in bread making! At this stage the starter is quite mature and therefore more resilient to changes in temperature and feeding times. If you are not planning on using it straight away, feed it as normal, then wait another couple of hours for it to start bubbling again, then store it in the fridge. When stored in the fridge you really only need to feed it once a week.
You can also store it in an airtight container in the freezer. Just make sure you return it to room temperature and feed it, before attempting to use it.
ISSUES THAT MAY ARISE
Grey Liquid on Top - this usually occurs when your sourdough starter is "hungry". It is an alcohol that is produced as a by-product of the yeast fermentation process. It will have a slightly stronger "sour" flavour so depending on how much is there you can choose to either stir it back in prior to feeding or carefully drain it off.
Strange Smell - the smells that your sourdough starter give off will vary quite a bit throughout the process. Initially it may be quite a strong, unpleasant smell, but over the first few days of feeding it should develop into more of a sweet, tangy aroma. Give it time.
Slow to Double in Size - this usually just means that the temperature is a bit cooler than ideal. Try and find a slightly warmer spot to leave your sourdough starter or else just wait a little longer.
Remember all sourdough starters are different. If yours doesn't act or look the way described above, be patient and just maintain the feeding process every 12 hours, until it is doubling in size every 8 hours.
SHARING YOUR SOURDOUGH STARTER
If you want to increase the volume of your starter, ie to share with friends, just add the 1/2 cup of flour and 1/2 cup of water without first discarding any. Keep up with this process until you reach the desired quantity. You can then seperate off 100gm batches. These batches will then just be feed by yourself or others, as described back in days 3, 4 and 5.
USING YOUR SOURDOUGH STARTER
When you are ready to use your sourdough starter, feed it and bring it up to room temperature. It will need to double in volume and be showing bubbles on the surface, so that you know it is "active". This should take under 8 hours. Remove the amount you need for your recipe, feed it again, and return it to the fridge for longer term storage or leave at room temperature if you plan on using it again within 12-24 hours.
I'll do another post on using your starter to make loaves of bread, or French sticks, or buns..... so watch out for that. In the meantime, if you have any queries with the instructions above, don't hesitate to leave me a message in the comments below.
Good luck, and enjoy the process!
No responses yet